TL;DR
- Yes, minor RV roof and seal repairs like resealing a vent or patching a small crack are DIY-friendly, but full recoating and leak diagnosis usually need a pro.
- Basic sealant work runs $150–$400 in materials; professional RV roof repair in Stuart ranges from $150 to $3,500 depending on scope.
- DIY mistakes like using the wrong sealant on an EPDM or TPO roof can cause delamination and void your manufacturer warranty.
- RVIA-certified techs follow NFPA 1192 and manufacturer specs, which matters especially if your RV is still under warranty.
- Treasure Coast RV Repair has completed 4,100+ repairs across Martin County and the surrounding area since 2013. Call (772) 677-1583 for a free estimate.
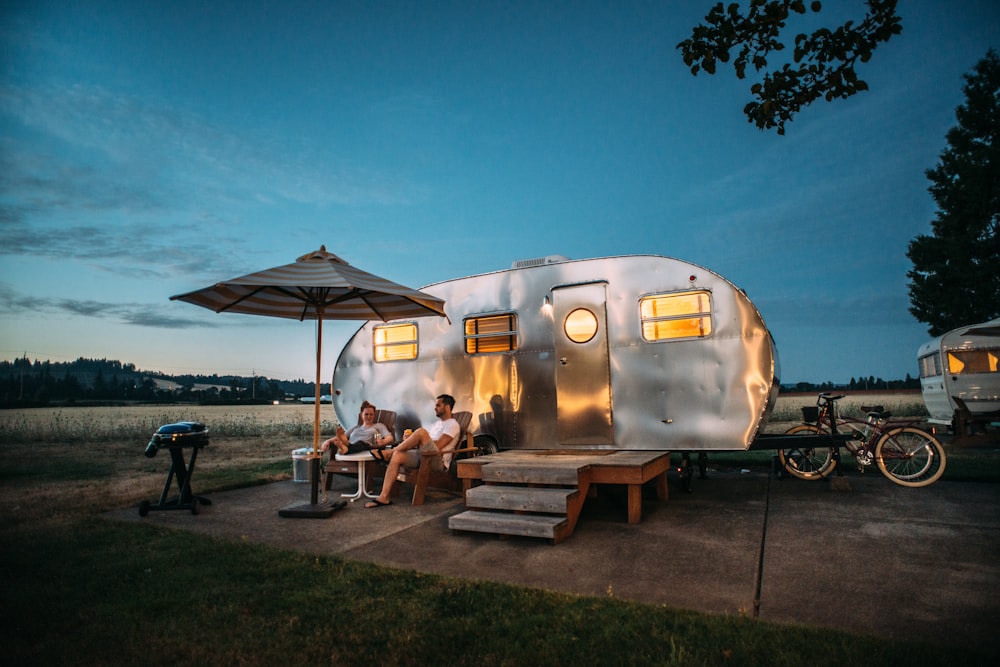
Yes, you can handle some RV roof and seal repairs yourself, but only the right ones. Small touch-ups like dabbing fresh lap sealant around a vent cover or patching a hairline crack are genuinely safe for a careful DIYer. Bigger jobs like a full EPDM or TPO roof recoating, diagnosing a hidden leak, or replacing a damaged skylight? Those carry real risk of making things worse, and in Florida's Treasure Coast climate, 'worse' can mean thousands in water damage inside your rig.
We've seen it firsthand at Treasure Coast RV Repair. Danny Vasquez and our team have completed more than 4,100 repairs since 2013, and a significant chunk of those jobs were fixing DIY attempts that went sideways. That's not a knock on RV owners who try, it's just the reality of working with UV-baked membranes, salt-air-corroded seams, and the brutal Martin County summer heat. This guide will walk you through exactly what's safe to tackle yourself, what tools you'll need, when you should step back and call a certified tech, and when going the DIY route could actually void your warranty.
What RV Roof Repairs Are Actually Safe to DIY?
The honest answer is that surface-level sealant work is the sweet spot for confident DIYers. Resealing around vents, air conditioner bases, antennas, and roof edges with a compatible lap sealant is something most handy RV owners can do safely with the right product and a dry afternoon. Self-leveling sealant (a type of flexible, waterproof compound designed to flow into gaps without sagging on horizontal surfaces) works well here and costs around $15–$30 a tube at most RV supply stores.
Small surface cracks or bubbles in a rubber membrane can also be patched with a matching repair tape or patch kit, especially if you've confirmed the roof membrane type first. On Stuart-area rigs, you'll mostly see EPDM (ethylene propylene diene monomer, a synthetic rubber membrane) or TPO (thermoplastic polyolefin) roofs, and each requires a different product. Using the wrong one is where DIY gets dangerous. Here's a quick breakdown of what's fair game:
- Resealing roof vents and A/C bases: DIY-friendly with self-leveling lap sealant
- Patching a small, surface-level crack: DIY-friendly with a matching patch tape
- Cleaning and inspecting the roof membrane: DIY-friendly, and you should do it every 3 months in Florida
- Resealing slide-out roof seams: Borderline. OK if you can access them safely and confirm the sealant type
When You Need a Certified RV Technician for Roof Work
If you're dealing with an active leak, delamination (where the roof layers separate and create a spongy or bubbled surface), or damage that's worked its way past the membrane, you need a certified tech. These situations often look minor on the outside but hide serious structural damage underneath. We've pulled back roofs at our Port St. Lucie shop and found rot in the decking that the owner had no idea was there because the interior ceiling still looked fine.
Full roof recoating, skylight replacement, and any repair that requires removing roof components falls under RVIA guidelines and, for under-warranty rigs, must follow manufacturer-approved procedures outlined in standards like NFPA 1192. Our team is RVIA certified, which means we're trained to do this work correctly and document it properly. If your rig is parked anywhere near the Manatee Pocket or Jonathan Dickinson State Park, the combination of humidity, tree debris, and salt air accelerates roof wear faster than most owners expect. Here's when to call instead of climbing up there yourself:
- You can feel soft or spongy spots when walking the roof
- Interior walls or ceiling panels show water stains or bubbling
- The roof membrane is cracking, peeling, or lifting at seams
- Your RV is still under a manufacturer or extended warranty
- The damage covers more than a square foot of membrane
Florida Climate Accelerates RV Roof Wear
Stuart sits in one of the most demanding environments for RV roofs in the country. The UV index here regularly hits 11 or higher in summer, salt air drifts inland from the St. Lucie Inlet, and afternoon thunderstorms stress every seam and sealant joint. EPDM roofs that might last 10 years in the Midwest can show significant UV degradation in 5 to 6 years here. That's not a scare tactic, it's just the reality of Florida UV damage on RV roofs that we see every week at our shop.
Pro Tip: Check Your Roof Before Every Trip
In Martin County's climate, we recommend inspecting your RV roof every 90 days minimum, not just once a season. Run your hand along every seam, vent edge, and skylight frame looking for cracks, lifting sealant, or soft spots. Catching a $30 sealant fix early beats a $2,000 decking repair later. If you're not comfortable on the roof, call us and we'll do the inspection for you.
Tools and Materials You'll Need for DIY RV Roof Sealing
If you've decided a repair is within your skill set, having the right tools makes all the difference. The most common mistake we see is owners grabbing a generic silicone caulk from a hardware store. Silicone is not compatible with EPDM roofs and will actually prevent future proper adhesion if you ever need a professional repair. Always confirm your membrane type before buying anything. It's usually listed on a sticker inside a cabinet near the door or in your owner's manual.
Here's what you'll actually need for a basic DIY seal job on a Treasure Coast RV:
- Lap sealant (Dicor or similar): Match to your membrane type. Self-leveling for horizontal surfaces, non-sag for vertical. About $15–$30 per tube.
- EPDM-compatible cleaner or TPO cleaner: Prep the surface before applying anything. $10–$20.
- Putty knife or plastic scraper: For removing old cracked sealant cleanly.
- Patch tape (EternaBond or similar): For surface cracks. A 4-inch roll runs about $25–$50.
- Soft-bristle brush and bucket: For cleaning the membrane before inspection or coating.
- Non-slip shoes and a spotter: Safety is not optional on an RV roof.
Plan on spending $60–$150 in materials for a basic DIY seal refresh. That's reasonable for preventive work, but it's not a substitute for a professional recoating or leak diagnosis.
| Service Type | DIY Material Cost | Professional Cost |
|---|---|---|
| Basic sealant reapplication (vents, edges) | $30–$60 | $150–$300 |
| Small crack or puncture patch | $25–$50 | $150–$250 |
| Full roof recoating (EPDM or TPO) | $200–$400 (materials only) | $800–$2,000 |
| Skylight replacement | $150–$400 (part only) | $400–$900 |
| Leak diagnosis and repair | Not recommended DIY | $300–$1,500 |
| Full roof replacement (major damage) | Not recommended DIY | $1,500–$3,500 |
Pricing Disclaimer
All prices shown are estimates based on national averages and our service history. Actual costs may vary depending on current market conditions, parts availability, your specific RV model, and the scope of work required. The only way to determine your final cost is through an on-site diagnosis by our certified technician. Call (772) 677-1583 for a free estimate.
The Real Risk of DIY Mistakes on RV Roofs
Here's what doesn't make the YouTube tutorials: a bad DIY roof repair can cost you five to ten times more than the original fix would have. Wrong sealant on an EPDM membrane can cause the rubber to swell and lift at the seams, letting water in along the entire edge instead of just the original trouble spot. We've seen that exact scenario in Stuart more than a few times, and the resulting interior damage (wet insulation, rotted decking, mold behind wall panels) added thousands to what started as a minor leak.
Improper patching also creates false confidence. A patch that looks solid from the outside can still allow water to wick underneath and spread laterally through the decking before any visible sign appears inside. By the time you see a ceiling stain, the damage is already well established. That's why leak diagnosis specifically is something we always recommend leaving to a certified technician who can use moisture meters and proper inspection techniques. Also worth reading if you're weighing costs: our Treasure Coast RV repair cost guide breaks down what different repair categories typically run.
We Come to You Across the Treasure Coast
Treasure Coast RV Repair offers mobile service across 16 cities in St. Lucie, Martin, and Indian River counties, so you don't have to haul a damaged rig across town. Danny Vasquez and our team bring the tools, the certified expertise, and the right materials directly to your site. Whether you're parked at a full-hookup resort near Stuart or stored in your driveway in Port St. Lucie, we can get eyes on the problem fast.
When DIY RV Roof Repair Voids Your Warranty
This is the part most owners don't think about until it's too late. If your RV is still under a manufacturer warranty or an extended service plan, DIY roof repairs can void coverage for related water damage claims. Most RV manufacturers require that any roof work done under warranty follows RVIA-approved procedures and uses manufacturer-specified materials. That's not just fine print, it's something adjuster teams actively look for when a claim comes in.
NFPA 1192, the standard for recreational vehicles, and manufacturer specs from brands like Keystone, Winnebago, and Forest River all include language about approved repair methods. If you've applied a non-compatible sealant or disturbed the membrane in a way that doesn't meet those specs, a warranty claim for a future leak (even one that's unrelated) can be denied. Our RVIA certification means our work is documented and meets those standards. If you're unsure whether your rig is still under any coverage, check your paperwork before touching the roof. See also: our Treasure Coast RV AC guide for another system where warranty work matters.
Questions about rv roof & seal repair on the Treasure Coast? Call (772) 677-1583 and ask for Danny. Free estimates, same-day service available.